10 Automatic Chicken Coop Door Problems You Should Avoid
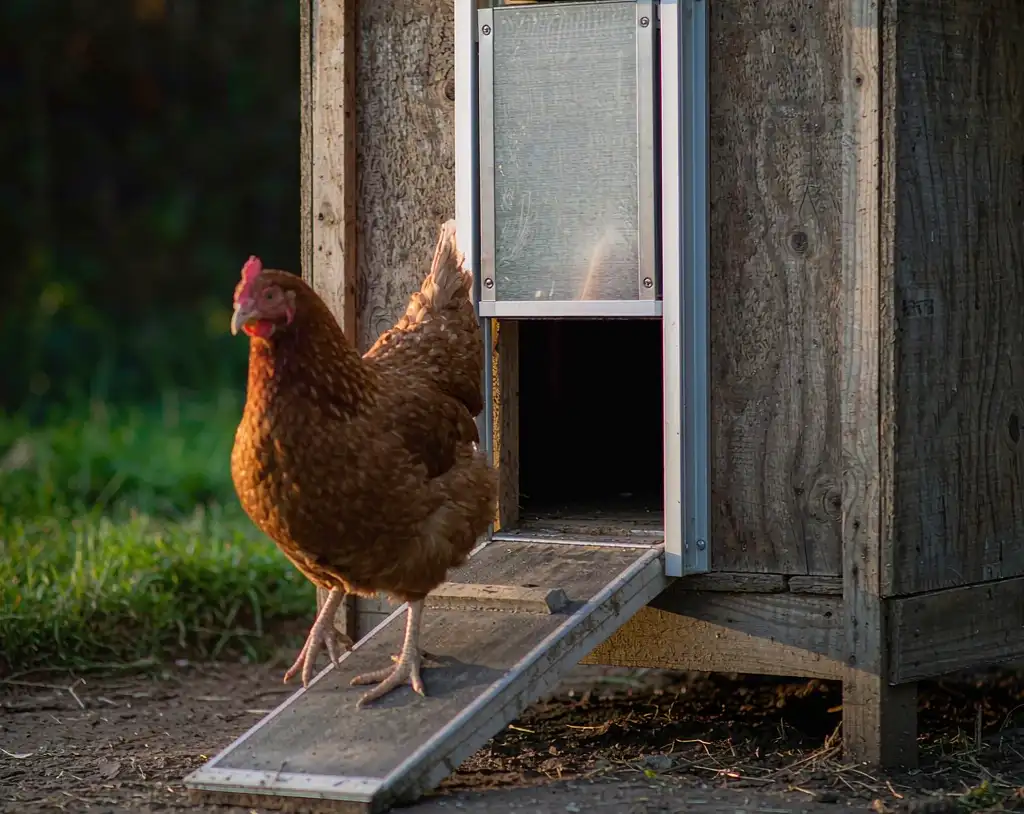
You buy an automatic coop door for one simple reason. You want to stop sprinting out to the yard at dusk while dinner gets cold. You also want to stop trudging through wet grass at six in the morning before the kids wake up.
When the door works, it feels like the best upgrade on the whole coop. When it fails, you get hens locked out after dark, birds stuck inside at noon, or a half-inch gap waiting for a raccoon.
Most of those headaches are not freak electronics failures. They are the same ten problems that show up again and again once a door is bolted to a real coop wall. I compared the spec sheets, the manuals, and the same complaints that come up year after year. What follows are the problems you are most likely to hit, and what to do before they happen to you.
Here is the order: weather and cold first, then sensors and apps, then mounting and power, and finally cheap doors and weak support.
1. Expecting the door to work past its cold rating
You read “works in extreme conditions” on the listing and assume the door can handle your January. Then a real cold snap hits, you walk out at -15°F, and the door never moved.
Every door has a cold rating, and that number is almost always warmer than your worst January night. The rating is where the maker stops promising anything. Below it, the door is a test, not a tool.
What to do:
- Find your number before winter. Pull the cold rating from the manual or the listing and set it against the coldest week your area sees, not the average week.
- Plan a manual morning. When the forecast drops below that number, assume the door will not open and walk out with your hands instead of your phone.
- Shelter the door. A roof edge, a windbreak, or an inside mount keeps rain and wind off the panel and buys a few degrees of margin.
What not to do:
- Do not expect the rating to stretch. A door rated to -4°F that stops at -20°F did what it was sold to do.
- Do not leave for a weekend below the rating. That is the trip where a closed door becomes a dead flock.
If your winters run past -10°F regularly, buy the door as a helper for normal mornings, not as a guarantee for the worst ones.
2. Letting freezing rain and ice weld the bottom edge shut
You do not need sub-zero weather to wake up to a stuck door. Freezing rain at 25°F will lock a door faster than a dry -10°F night.
Water runs down the siding, collects along the bottom sill or inside the side rails, and freezes solid overnight. By morning the motor strains against a panel glued to the frame. Even a thin ridge of ice or frozen dirt on the edge can stop a sliding door from closing all the way at dusk. That leaves a gap you will not spot from the kitchen window.
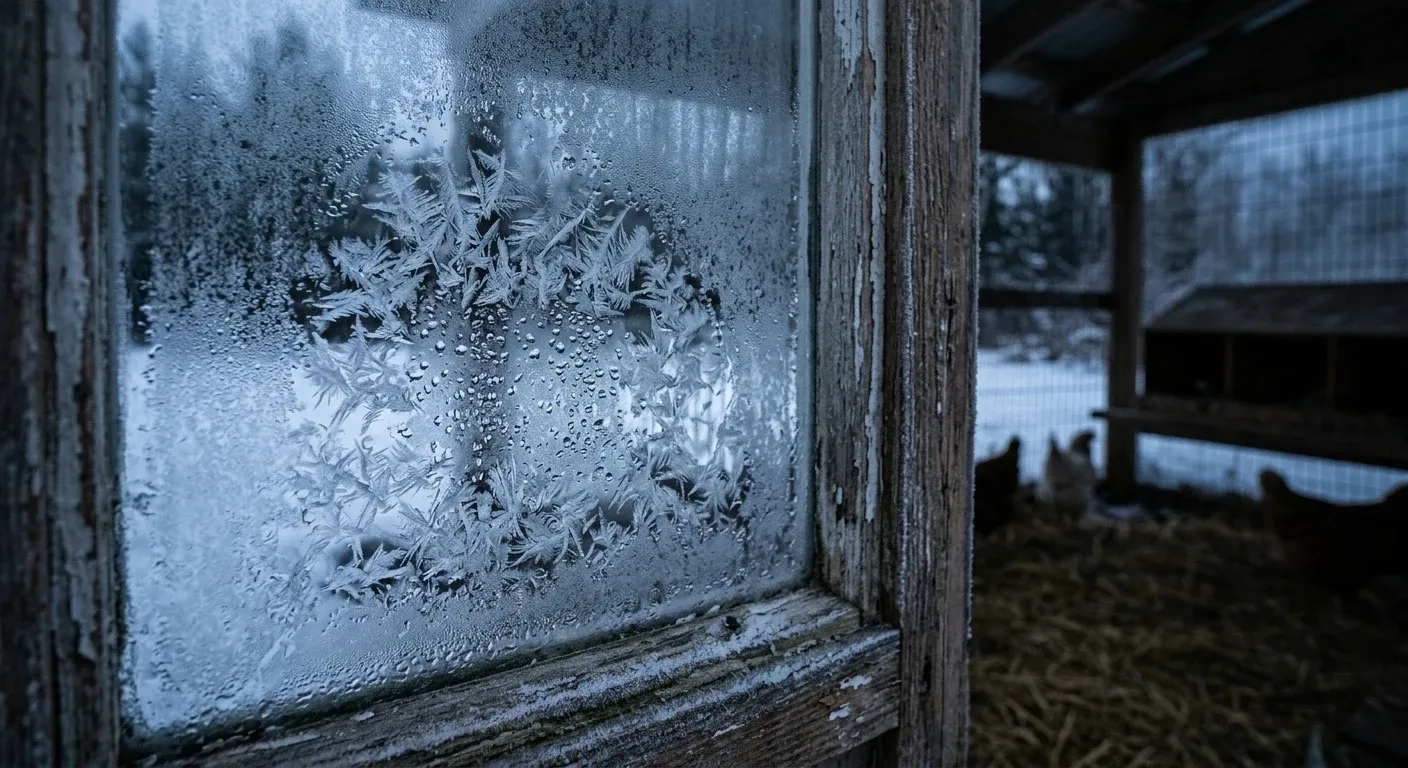
The motor is usually fine. Ice along the bottom edge is what locks the panel.
Do not bolt an automatic door onto an exposed wall that catches driving rain if you can avoid it. Mount it under a roof overhang, add a small rain hood, or mount the unit on the inside wall of the coop. If a vertical slider freezes shut, skip prying at the motor box. Pushing firmly against the face of the panel breaks the ice seal along the bottom edge, a fix that gets doors moving again on frozen mornings.
3. Trusting the light sensor without watching it for a week
Light sensors sound effortless until the first dark storm rolls in an hour before sunset. The sky turns gray, the sensor hits its threshold early, and three hens end up roosting on top of the coop because the door shut them out.
It works the other way, too. Walk out at ten o’clock with a bright flashlight to check the coop. Let the beam sit on the sensor for a few seconds, and the door can slide open right in front of you. A porch light, a motion floodlight, or a shaded north wall can all throw the reading off.
A light sensor is a brightness switch, not a chicken counter.
You do not have to swear off light mode completely, just stop trusting the factory default. Many doors let you lower the closing threshold so the door waits longer into dusk. That single adjustment is often enough to stop the lockouts. Even better, use light mode for morning opening if you like, and run a clock timer for closing. Either way, spend the first week watching when the door closes against when your last hen goes in.
4. Buying a door with no physical button on the unit
Picture stepping out at 6 a.m. in boots and a jacket with your phone still on the kitchen counter. Or picture a neighbor watching your flock for the weekend. If the door has no physical button on the wall box, neither of you can open it without pulling out an app.
This is no longer rare. The newest app-first models have moved the controls off the unit and into a phone, and some have dropped the onboard button entirely. It is sold as convenience. The cost arrives at 6 a.m. when your phone is on the kitchen counter, or when a neighbor is watching the flock for the weekend and does not have your login.
Wi-Fi doors carry a second version of the headache. When your router or the maker’s servers go down, the app stops talking to the coop, even if the door itself keeps running on its schedule.
If you cannot open the door in airplane mode, your phone is now part of your coop hardware. Check for a real button on the unit before you buy. Once it is mounted, put your phone in airplane mode and run one full open and close right at the coop.
5. Mounting the door without measuring headroom and old tracks
A lot of door problems start with the screwdriver still in your hand. You unbox the opener and hold it over your pop hole. Halfway up, the panel hits the roof trim, or a hinge binds on an old metal rail.
Different doors need very different wall space. A vertical slider has to travel the full height of your opening plus a margin, straight up the wall, and that stack of clear space rules out plenty of low walls and tight rooflines before you even compare features. Sideways sliders need horizontal width instead of height.
Even when the height works, old framing gets in the way. A leftover metal track sticking out a quarter inch is enough to bind a hinge or twist a sliding panel.
Measure three numbers before you order: opening width and height, clear travel space above or beside it, and any trim or old track sitting proud of the wall. If the existing opening is rough or uneven, spend thirty minutes building a flat wood frame first. Do not screw a tight motor unit over a crooked hole.
6. Letting tracks clog with bedding, feathers, and wood shift
Vertical doors that drop through narrow side channels are simple to install. They are also magnets for everything on your coop floor. Pine shavings, dust, feathers, and damp droppings pack into the bottom slot a little at a time.
Wood coops make it harder. Framing swells in wet spring weather, shrinks in August, and settles a fraction of an inch over two winters. In a tight track, a tiny shift makes the panel drag, stop two inches short of the sill, or jam halfway down. A door that needs a clean channel every week, sitting in a frame that moves a little every season, is a door you will be maintaining.
Tracks collect everything on your coop floor. Clean them before the door jams halfway.
Each time you clean the coop, take thirty seconds to brush out the bottom sill and side channels and check that the frame is still square. If your coop sits on uneven ground or shifts hard every season, look closer at a door that swings or slides sideways with looser clearances.
7. Waiting for batteries to die in winter instead of swapping them in fall
Every battery door prints a friendly estimate on the box. Four AA cells, six months, a year on two cells, a solar panel with a small rechargeable pack: none of those numbers assume January.
Cold air cuts battery output exactly when the door has to pull hardest through stiff frost or swollen wood. If you run your batteries down to 20 percent in November and hope they reach spring, the first hard freeze will prove you wrong.
Swap batteries in October, not in January. Put fresh quality batteries in before the first hard freeze every fall, even if the old set still reads halfway full. Thinking about solar to skip battery swaps altogether? Check your winter sun first. Shady runs and north walls turn solar into its own failure mode, covered in the solar chicken coop door guide.
8. Leaving cords, strings, and low wires exposed to rain and teeth
A door with an external power cord, a separate solar wire, a remote light sensor cable, or a lift string adds one extra weak link: the line itself.
Outside on a coop wall, cords get soaked, baked in the sun, and chewed. A wet cord on a string opener is enough to trigger repeated random malfunctions. Even a door that has run for eight or nine years can start glitching when moisture gets into the line. Leave wire within reach of mice, curious hens, or a goat in the yard, and you will be splicing cables on a Saturday afternoon.
Exposed wires meet rain and teeth. Tuck them up high or expect random glitches.
Route any external wire up out of reach, clip it tight to the siding, or slip it through cheap conduit. Leave a small downward drip loop right before the plug. Rainwater will fall off the bend instead of running straight into the control box.
9. Buying a cheap string door that quits in year two
You might look at a bargain guillotine door online and figure it only has to lift a small square of metal up and down. Fair thought. For the first few months, it usually opens and closes just fine.
Then the maintenance starts. The motor eats through batteries fast. The thin cord frays or snaps, dropping the panel shut or leaving it stuck. Eventually the plastic gears strip or the board dies. Two years later you are shopping for a second door while unscrewing the first one from a wall full of extra holes.
A cheap string door is not cheaper when you replace it in year two.
The doors that last share a boring recipe. Metal doors or sturdy gear drives, simple battery power, and physical buttons instead of gimmicks. On a tight budget, skip Wi-Fi and app extras and stick with the plainest dependable model you can find.
10. Having no spare parts path and no manual backup
Most buyers never check warranty or parts support until the door dies on a Friday night. By then it is too late to learn the maker does not sell replacement motors, hides behind scripted email replies, or only covers the unit for a few months.
Coverage varies more than most buyers expect, from a matter of months to a few years. Read the warranty before you check out, not after the door quits. Before you check out, verify three things: warranty length, whether the maker sells replacement motors and sensors, and whether you can reach a real person.
Even more important is what happens at the coop the night a door fails.
Every dead door ends the same way: you standing at the coop in the dark, opening or closing it by hand.
Never let an automatic opener be your only way in or out of the pop hole. And never treat a lightweight sliding panel as your only predator latch if a raccoon can lift it from below. Check on day one how to unhook, slide, or latch the door manually without power.
A five-minute check before you trust any automatic door
You do not need to memorize all ten problems. Run through this short list before you buy and right after you install:
- Check the cold rating against your worst winter week, not your average week.
- Mount the door under a roof edge or inside the wall so freezing rain stays off the bottom track.
- Watch the closing time for seven nights straight before you stop checking at dusk.
- Test a full open and close with your phone in airplane mode.
- Measure your opening, clear headroom, and any old tracks before you drill a single hole.
- Brush the rails when you clean the coop, and put fresh batteries in every fall before the first freeze.
- Walk through your manual backup once in the dark so you know how to close the coop if the motor quits.
Buy an automatic door to save the morning and evening walk, not to replace a real latch. Set it up with these ten problems in mind, and you will actually get the quiet mornings you paid for.
Run-Chicken T50 Review (2026): One Opening Size Decides It
The T50 runs a year on two AA batteries and needs an 8 by 10 inch opening with 24 inches of clear travel above it - the specs, and who should skip it.
Best Solar Chicken Coop Doors (2026): What Survives Winter
Solar coop doors from Run-Chicken, ChickenGuard and Chickcozy, read against winter sun, battery fallback and reserve specs - and when solar is wrong.