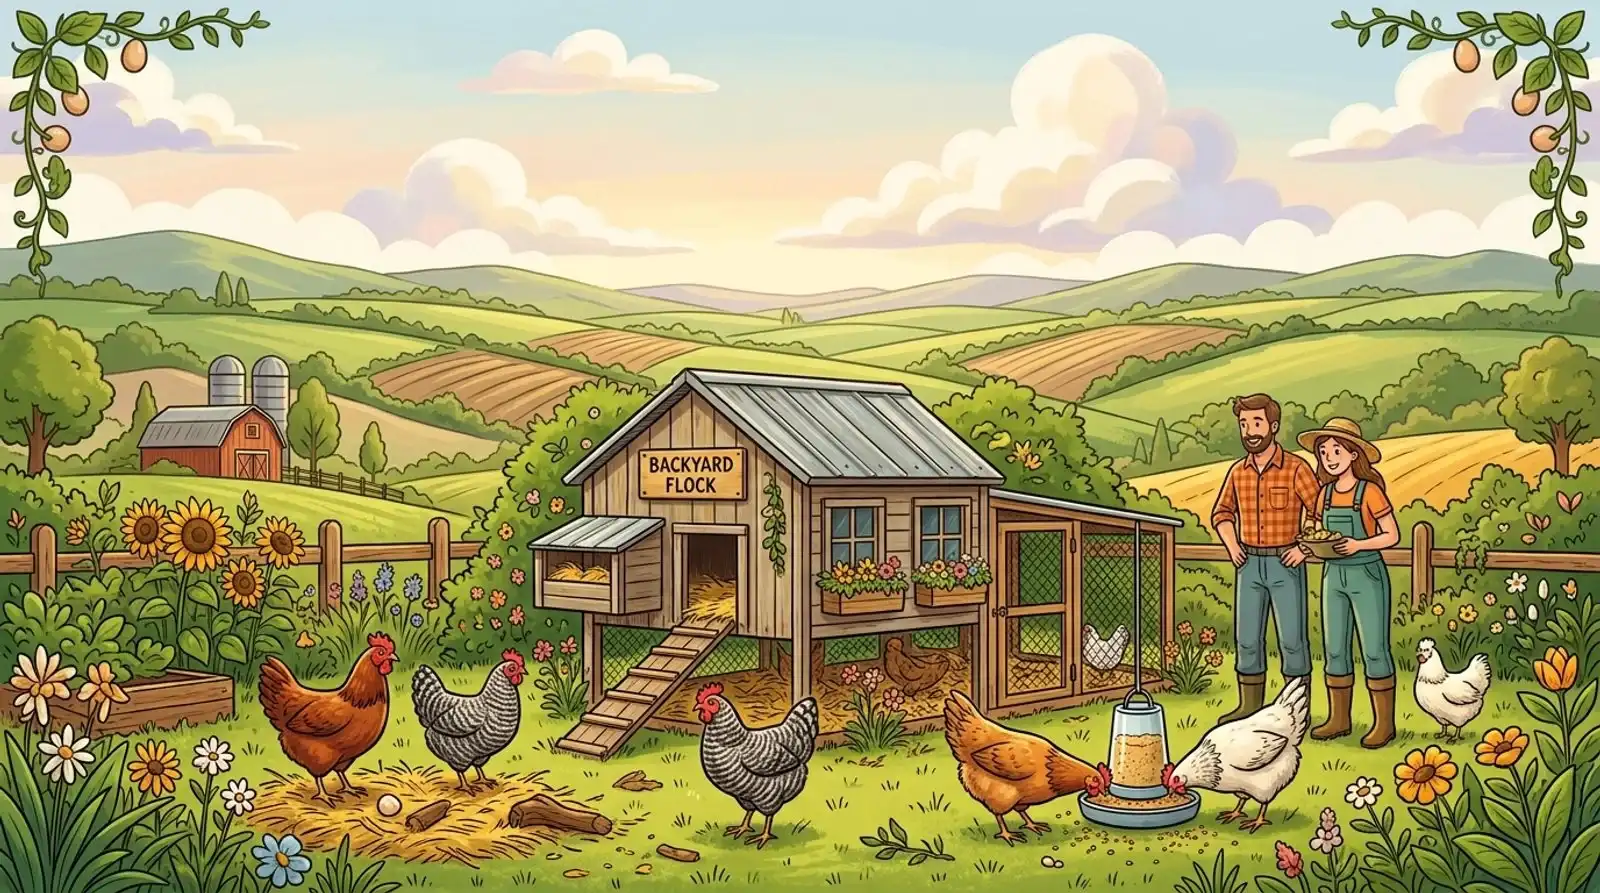
Anyone who has kept chickens for long has a frozen-waterer story or a bought-it-in-a-hurry coop story. This page collects the price tags on those stories so you can skip paying them.
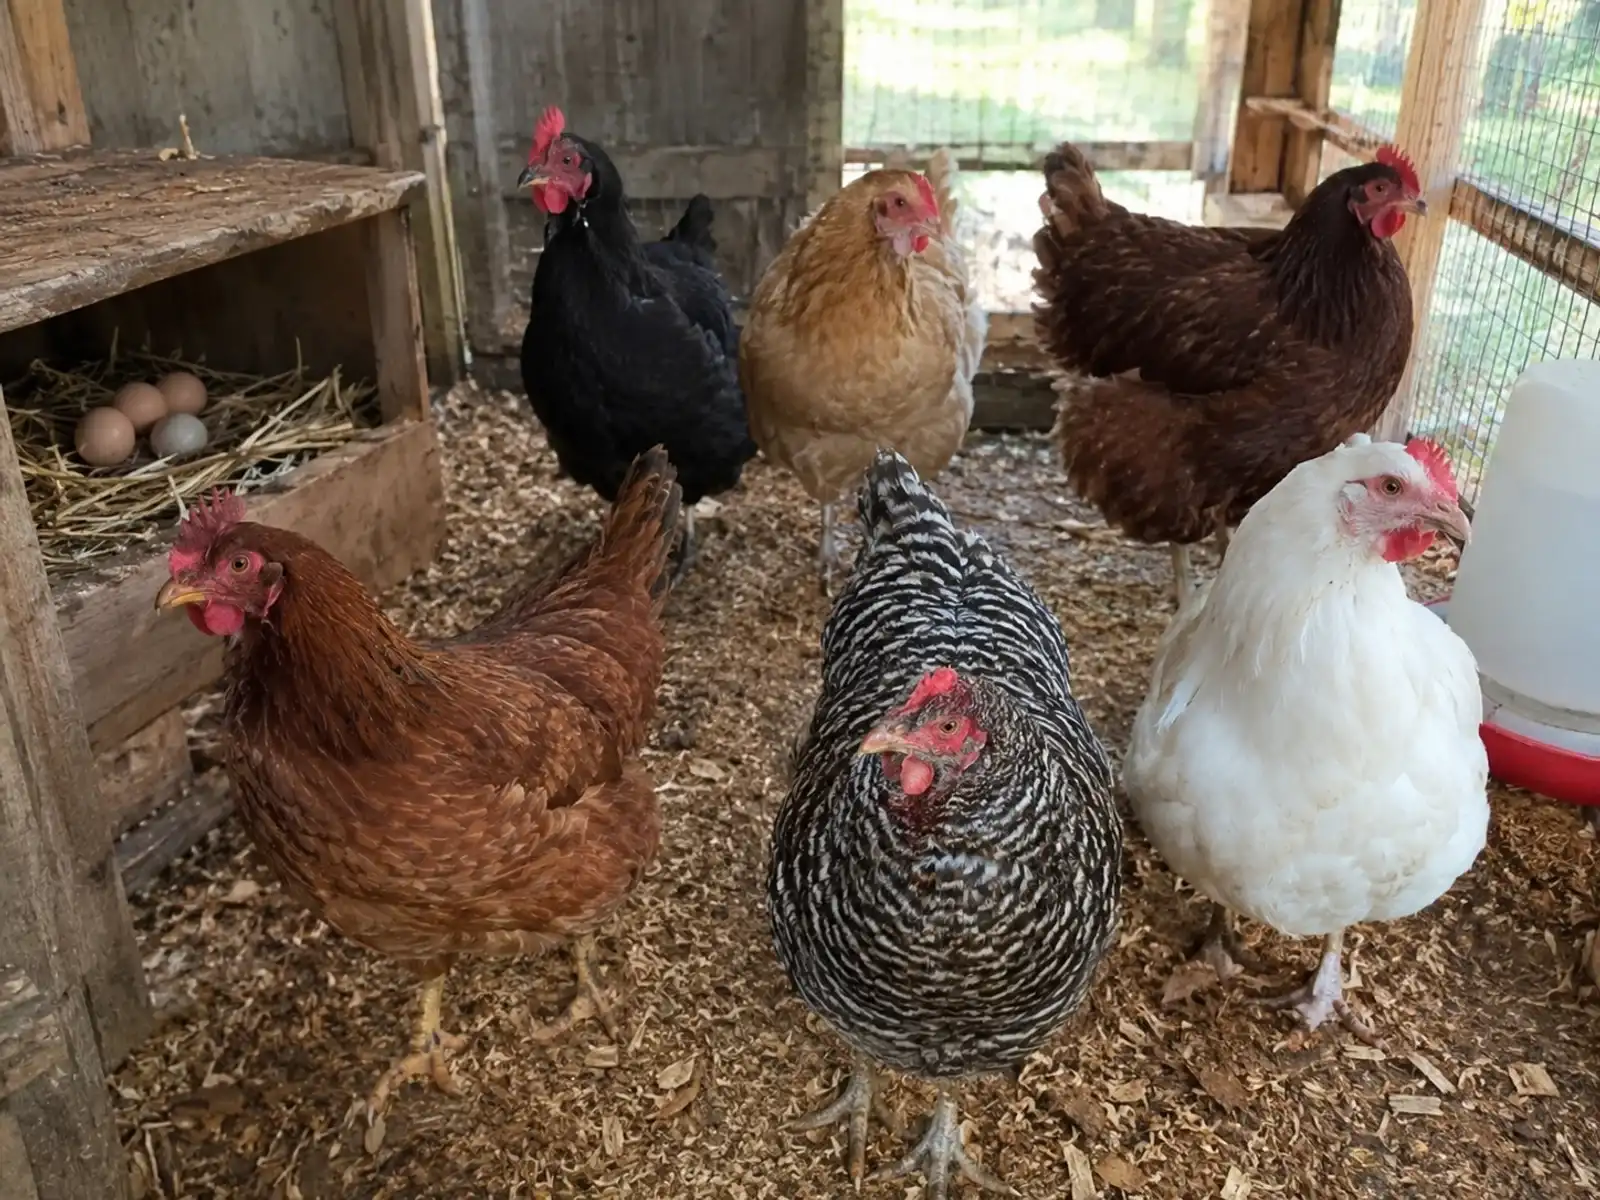
Raising chickens moves fast once you say yes: a February catalog, a neighbor splitting a chick order, a feed store with a chirping bin by the register, and suddenly the birds are in your garage while the coop is still a shopping tab. The order you do things in decides how that month goes.
The work splits into three parts. Steps 1 through 6 are decisions: rules, purpose, budget, space, breeds, and the age you start at. Steps 7 through 10 are equipment and timing. Steps 11 through 14 are the road from arrival week to the first egg, including the safety habits that start on day one. Where a number drives a decision, the source sits on the sentence that carries it. If you read nothing else, read steps 1 and 3. Rules and money are where new keepers get hurt.
Part One: decisions. These six set everything downstream.
1. Check the rules before you buy anything
Every spring, somebody's flock ends up on a rehoming page because the coop came first and the code check came second. It happens in every town, including yours. Make the rules your first call, before the catalog and before you fall in love with a coop on Facebook Marketplace. Municipal code is boring right up until it costs you the birds.
Most people show up here holding the same sentence: a neighbor, or the guy behind the feed-store counter, said chickens are fine where you live. That's hearsay, not a rule. Upgrading it costs one email — send it, and keep the reply.
Look up four things in your city, township, or county code: how many birds you're allowed to keep, whether roosters are banned, how far the coop must sit from property lines and neighbors' houses, and whether you need a permit at all. Search your town's name plus "municipal code chickens," find the animal section, and read it yourself. Ten minutes, usually.
The rules swing hard from one town to the next. New York City's health code bans roosters outright and stays silent on hens §161.19, NYC Health Code. Chicago sits at the other end: its animal care chapter, as of October 2026, sets no cap on hens and requires no permit Chapter 7-12, Municipal Code of Chicago. No cap and no permit still isn't no rules; that chapter keeps noise, sanitation, and slaughter restrictions that bite just the same. Same country, same decade, opposite rulebooks.
Setbacks get their own check. A coop can fit the yard on paper and still sit too close to the line, which is how legal flocks end up on the wrong side of a neighbor's complaint. Measure from the coop wall, not from the fence post you wish was the line.
Two layers sit above city law. A homeowners association can restrict birds even where the city allows them, and its rules are enforced by your neighbors, not the town; renters need the owner's yes in writing before the first bird arrives. Virginia Tech's extension puts the ordinance check first on its own before-you-buy list, and the one-pager is worth ten minutes of anybody's evening Ten Things to Know Before you Get Chickens.
If you can't find the rule in writing, email the code office and keep the reply. One email turns "the guy at the feed store said it was fine" into something you can point at later.
2. Decide why you want chickens, then how many
Start with why, because it changes every step after this one. Eggs for the table are the usual answer to why raise chickens at all, but plenty of first flocks are really about kids learning where food comes from, better compost for a garden, or a soft launch into homesteading. An egg-first flock wants production breeds and a realistic carton count. A family-first flock can trade some output for calm birds the kids can help care for, with supervision. Same coop, different shopping list.
Chickens are flock animals, and Virginia Tech's starter guide is blunt about it: they need the company of at least two other chickens, so three is the working floor. Hatchery logistics land in the same place, as a shipping fact rather than a welfare one: Meyer won't ship fewer than three standard chicks in warm months, and the winter minimum climbs to eight so the box stays warm in transit Meyer Hatchery's shipping chart.
How far above three you go depends on eggs. Count the household's weekly cartons, including the baking eggs everybody forgets. Two dozen a week points at five or six dual-purpose hens, or four production layers for the same table. The flock-size guide runs the full math by breed and by carton count, and the egg calculator prices in the winter dip and the year-two ease-off, because hens lay by daylight: below roughly 14 hours of light a day, laying slows hard. A northern flock that quits by Halloween surprises somebody new every year.
Two cautions before you pick the number. First, you're choosing a decade, not a season: hens live around eight years and lay hard for only the first two or three, so you're adopting pets that happen to lay eggs. Pick a number you'll still be glad to feed after the egg peak passes. Second, resist the urge to add just one more bird later. Six birds eat and space like six birds. Every forum has a thread from the person who ordered four and came home with nine.
3. Budget it honestly
The startup bill is mostly the coop. Ready-made coops sized for four to six hens run from the mid-$200s for a basic box to well past $2,000 for insulated plastic and walk-in builds; the coop guides keep verified prices on every entry, so the spread is visible on real listings (four-hen picks, six-hen picks). Around the coop, budget for run materials, half-inch hardware cloth, a feeder, a waterer, and bedding in bulk. Whatever the listing claims, do the floor math in step 4 before you believe a capacity sticker.
The bill that never stops is feed, and it's the line people underestimate. A standard layer eats about a quarter pound a day, call it 90 to 100 pounds a year, and at $18 to $25 a fifty-pound bag that figures to $32 to $50 per hen per year the feed math; premium organic lines run higher, and the fifty-pound organic bag on Meyer's shelf sat at $44.89, checked October 2026. Feeder choice moves the same number: an open tray loses the most to billing-out and spillage, enclosed ports cut most of it, and a treadle feeder gets the last few points while shutting out rats; on a six-hen flock, spillage runs an estimated $24 to $60 of feed a year depending on the setup the no-waste guide. Store the feed in a sealed metal bin, which keeps the bag dry and keeps the neighborhood rats from learning your yard's schedule.
Now the part most beginner guides skip: eggs do not pay back a $2,000 coop quickly. Pull up USDA's egg market reporting and you'll find wholesale benchmarks anywhere from tens of cents to around a dollar a dozen depending on the series and region. Advertised retail for conventional large runs higher, organic retail several times that, and store receipts move with the market either way. Run your own numbers through the feed cost calculator and the flock economics calculator before you set a budget.
Here's the whole first year on one table, six hens, three ways to build it:
| Six hens | Frugal | Middle | Premium |
|---|---|---|---|
| Coop and run | mid-$200s basic box plus a DIY run, lumber and wire included | $500–800 kit or DIY materials | $2,000+ insulated, walk-in |
| Chicks, sexed, shipped | $30 birds plus $35 shipping, Meyer's rate for 3–24, checked October 2026 | same | same |
| Brooder heat | lamp plus power, $40–80 | either heat source | heat plate, more up front |
| Feeder, waterer, wire, bin | $50–100 | $50–100 | $50–100 |
| Feed, year one | $190–300 | $190–300 | $190–300 |
| First year, total | roughly $595–795 | roughly $845–1,345 | roughly $2,300–2,460 |
| Every year after | $190–300 in feed, plus bedding and the occasional replaced part | same | same |
Chick, shipping, feed, electricity, and coop-range prices trace to the sources above and in steps 6, 7, and 10. The middle-column coop figure and the gear line are planning figures, not quotes. The electricity line assumes the lamp's wattage run on a typical six-week brood; your rate card moves it. The feed line is an egg-type baseline at a quarter pound a day; heavy dual-purpose breeds, cold winters, and waste push it toward UMN's other planning figure of three pounds a week per six-pound hen, roughly 936 pounds a year for six birds. Don't count on egg sales or savings to repay the coop, even in the frugal column. A yard with hens in it is still a better yard. It's just not an investment.
4. Do the floor math yourself
If a listing promised six hens and the inside turned out to be the size of a closet, the sticker lied, and the fix is math, not a bigger coop. This is the five-minute check that keeps that from happening to you.
The working standard is four square feet of coop interior per standard bird with daily run access, plus eight to ten square feet of run per bird. Bantams can drop to three inside, and large breeds like Orpingtons want five. For adult birds, add one nest box per four to five hens and eight to twelve inches of roost bar per bird; growing pullets run on their own smaller numbers, six inches of roost each, covered in step 12. The space guide carries the table by flock size and the breed adjustments. Interior floor area divided by four is the capacity test, and it ends the capacity argument. The full coop exam adds ventilation, roost and nest space, and what happens when the flock is shut in for three snow days.
Here's where listings fall apart. Six hens need 24 square feet of interior, so a coop sold as a six-hen coop needs a true 24 square feet inside, and a real 6-by-4 is just one shape that gets there. Plenty of boxes sold for six birds have 4-by-3 interiors, 12 square feet, which makes them three-hen coops wearing a bigger number. The capacity re-rating ran the industry's own listings against the standard, and the capacity checker does any single coop in ten seconds. Shopping in person, take a tape measure to the box. Shopping online, read the interior dimensions on the spec sheet, not the footprint, and when a listing shows only outside measurements, ask the seller for the inside ones. A company that answers with numbers gets treated differently than one that answers with a photo of eight chickens.
Young birds run on their own numbers. Chicks need about half a square foot each in the brooder through six weeks, and growing pullets need one and a half to two and a half square feet of confined space NDSU extension guide. If the coop is running late, the chicks will outgrow the brooder before the coop arrives, so plan the overflow space now instead of being surprised by it in week five. The run deserves the same skepticism as the coop: eight to ten square feet per bird assumes dirt, grass, or free-range hours on top, and a flock that lives in the run full time needs more room than that.
5. Pick a breed mix on purpose
Three things decide a breed list: your climate, your egg goal, and your temperament vote. Cold winters push the list toward hardy breeds and change the housing math too, which the coop guide for cold climates covers from the housing side. Big egg goals point at production layers, and if you want eggs and meat both, UMN's layer-pullet guide argues you're better off raising egg-type pullets and meat birds separately than settling for a dual-purpose breed that's mediocre at both jobs. Small children in the yard weight temperament hard, and so does any flock that will meet a dog.
The breed library is the shortcut: 32 breeds profiled, each page carrying eggs per week, laying maturity, cold hardiness, and temperament with sources on every field. Rhode Island Reds, the classic American brown-egg bird, mature at 16 to 20 weeks, lay four to six eggs a week, and carry a friendly, calm rating on the hatchery's own spec sheet. The docile names anchor every family-flock conversation: Buff Orpingtons, Plymouth Rocks, Australorps, Wyandottes. Mixed flocks earn their popularity too, with different laying curves, different egg colors, and a pecking order with fewer identical competitors in it.
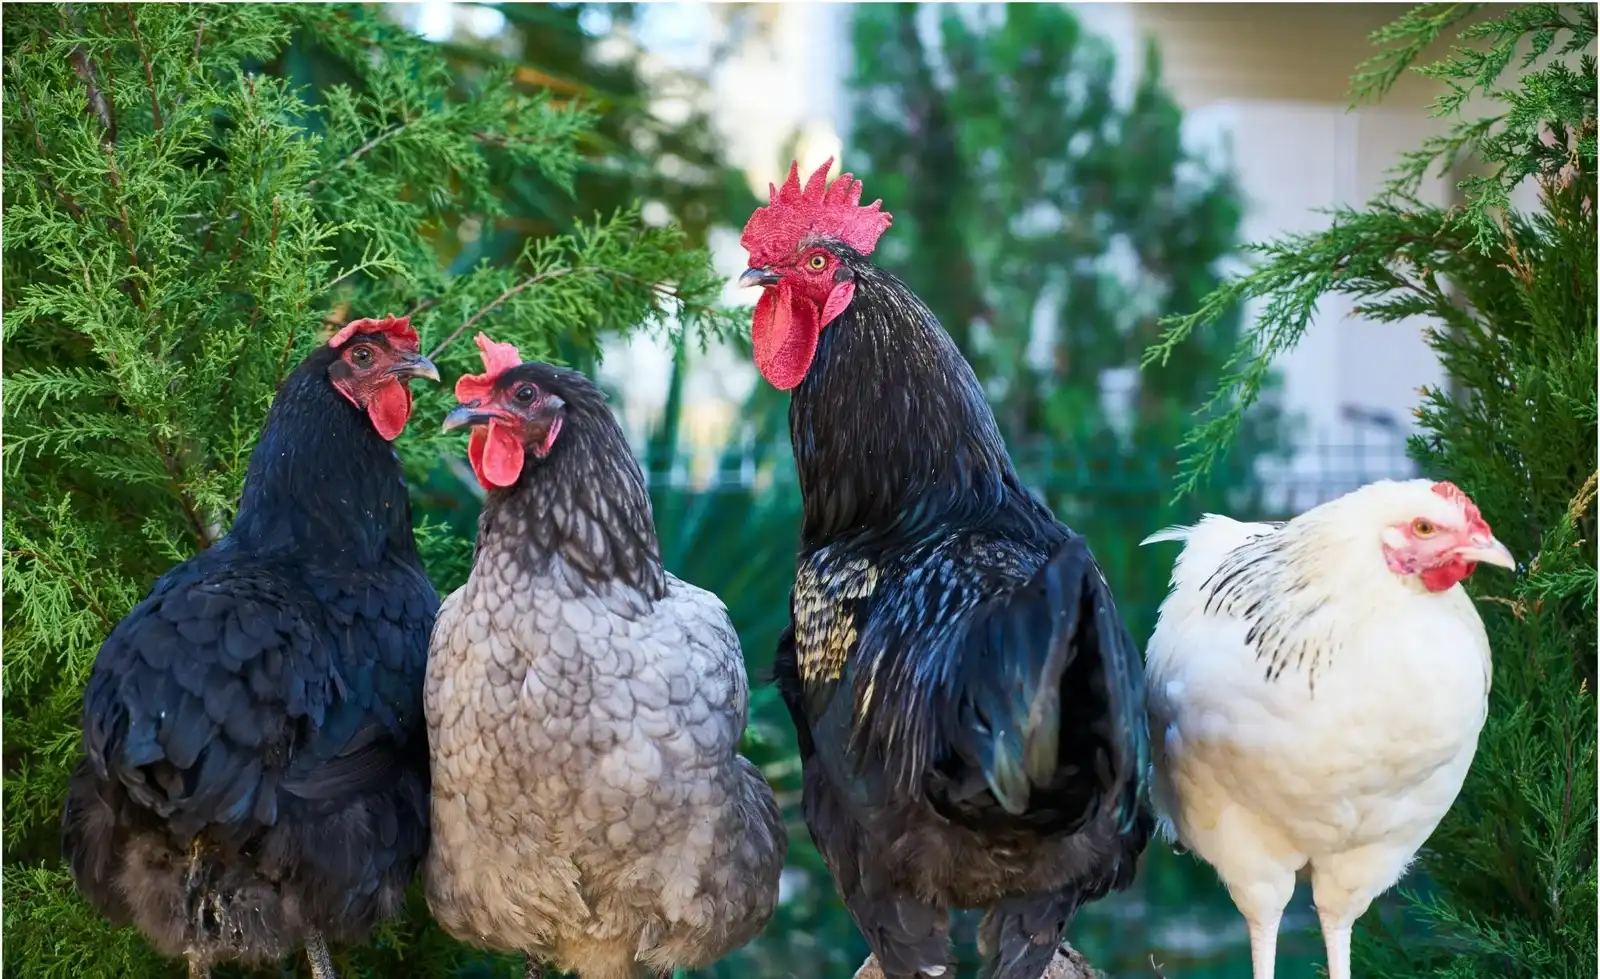
One trap lives at ordering time. Straight-run chicks are unsexed, so roughly half of a fluffy order may grow up to crow, and a crowing bird in a rooster-banned town is exactly the problem step 1 was about. Sexed females cost a little more and dodge most of it; UMN's layer guide goes point-blank and says to order sexed pullet chicks for a layer flock. No sexing is perfect, so whatever your local rules say, decide in advance what you'd do with a surprise male, before it's standing in the yard crowing.
6. Choose your starting age
Three doors, and the price gaps between them are wide. Day-old chicks run a few dollars each, $4.72 for a sexed Red, checked October 2026, at Meyer, but they need six weeks of brooder heat and four to six months to the first egg, depending on breed, per Virginia Tech's primer. Started pullets run roughly $20 to $29 each, arrive fully feathered and ready for an outdoor coop, and, when the seller provides records, a real vaccine program comes with them; the published hatchery schedule runs from Marek's at day one through boosters at twelve weeks. Whatever door you pick, ask the seller for NPIP status and any vaccine records. Extension biosecurity guidance says to acquire birds only from NPIP flocks, and a seller who answers cleanly is a buying signal.
Run the six-bird math and the gap gets concrete. Six sexed chicks land around $30; six started pullets run $120 to $175 at bird-only prices, before shipping. Roughly five times the money buys out most of the brooding and growing weeks, and the exact time saved depends on the pullets' age at purchase and the breed's laying maturity. Neither door is wrong. For a first backyard flock with kids, chicks are the better school: the brooder weeks are the part children actually remember, and the handling in those weeks pays off for years in birds that tolerate the dog, the neighbors, and the egg hunt before school. Pullets are the right call when the calendar, not the budget, is your binding constraint.
Adults are the fastest door and the riskiest bet: no brooder, no waiting, and a history you can't see. Birds from a farm swap arrive with unknown feed, an unknown flock, and sometimes a nickname like Hazard that should be read literally. The hybrid plan plenty of families drift into without planning it, feed-store chicks in spring and a couple of started pullets the next year to keep eggs flowing, works fine too. Just remember that every new batch restarts the quarantine and integration dance from step 13.
Part Two: gear and timing. The buying and building, in the order the calendar wants them.
7. Build the brooder before the birds exist
The brooder is a heat source, a thermometer, bedding, chick feed, and water, in a bin shielded from drafts. It belongs in the garage or laundry room before hatch day, not after. Getting it early buys one dry run: heat it up the weekend before the ship date, watch what the thermometer does overnight, and find the draft you didn't know you had while the stakes are still zero.
Siting comes down to power for the heat source, a floor that forgives spilled water, and a door that keeps other pets out. A stock tank is the classic brooder and the extension guides suggest it too; a large storage tote works on a budget; both beat a cardboard box, which sags, soaks, and sits too close to the heat. A chick guard ring, a smooth circle of metal or cardboard around the heat, keeps fresh chicks near the warmth instead of stranded in corners; McMurray's sheet sizes it about a foot high, and NDSU's first-month version runs to two feet, so taller is fine. And one set of house rules starts on day one: no eating or drinking in the brooder area, children under 5 stay outside it, and the brooder gear gets cleaned outdoors, never in the kitchen sink.
Bedding is a short whitelist and a longer blacklist. Pine shavings an inch or two deep are the standard, and secondhand gear gets cleaned before the birds arrive. Clean the organic material off first, then disinfect according to the product label; if that's bleach, use the labeled dilution with room-temperature water and ventilation. The blacklist burns beginners every spring: no cedar shavings, whose oils are toxic to poultry; no sawdust, which is fine enough that chicks eat it instead of their feed; no treated wood chips; skip sand. Over the first few days, lay paper towels on top of the shavings, for traction and so the chicks find feed instead of wood, because a slick bare surface invites spraddle leg, the splayed-leg injury that keeps a chick from standing. Pull the paper sometime in the first three to five days.
Size the gear for the count you actually ordered: one gallon waterer per 25 to 50 chicks, and McMurray's sheet figures one 2-foot feeder for each 25. A narrow-base poultry fount, so nobody climbs in and soaks herself, set on a small board from the start. Wet bedding around a waterer is how coccidiosis gets its first foothold.
The temperature script is the one place beginners expect precision and the sources refuse to give it: NDSU says 95 to start, eXtension and McMurray say 90 to 95, Cackle wants 100 to 105 directly under the lamp for the first days. The numbers measure different spots. Start in the low 90s at chick level, drop about five degrees a week, take the heat off when the birds are feathered and the room sits near 65, and let the birds settle any argument the charts have the week-by-week guide. The brooder chart tool puts the same schedule on the fridge, because whoever does the 6 a.m. check should not have to remember a number.
Heat plate or heat lamp? A lamp is cheaper at the register and lights the bin, and at 175 to 250 watts it costs roughly $26 to $50 in electricity across a six-week brood. A plate costs more up front, sips power, and lets chicks self-regulate by leaning in or stepping away the full trade-off. A plate also can't fall into the shavings and start a fire, which is the honest reason it's my default with kids in the house. Two cautions keep that honest too: Cackle says not to use a plate for the first week or two of mailed chicks, and whichever source you buy from, the hatchery that shipped your birds gets the final word. Give every brooder a warm zone and a cool corner the chicks can walk to, and adjust by what the birds do, not what the dial says. If the budget says lamp, hang it from a chain rather than the clamp, and glance at the mount every time you walk past.
This is a weekend project, genuinely. One store run gets the bin, a bag of shavings, the thermometer, the heat source, a chick feeder and waterer, and the starter feed.
8. The coop-stage gear, decided once
Most of the adult-flock list fits one trip to the feed store if it happens before the birds arrive instead of during the emergency: an adult feeder, an adult waterer, layer feed for later, bedding in bulk, half-inch hardware cloth, and latches you can work with cold hands. The small stuff, a rake for the run, gloves, a scoop, and a basic first-aid kit with gauze, wrap, and electrolyte powder, is what keeps a small problem small until you decide what's next.
Water is a daily chore, not a gadget purchase. The frozen-waterer story from the top of this page ends here, with a decision made in October instead of a block of ice discovered in January. The planning figure is a gallon per four to five standard birds per day in moderate weather, spillage and refill timing included; summer heat and heavy laying push it higher. What matters in practice is a fount you can clean in a minute, because a scrubbed waterer matters more than a fancy one. If your winters freeze, the heated options and the straight comparison live in the waterer work, and the winter sizer turns your flock number into a tank size.
Feed changes by stage, and the sequence matters more than the brand on the bag. Starter runs through about week eight, then a grower or developer ration carries the flock to point of lay, and layer feed starts when production does, because laying rations carry calcium that non-laying birds should not eat long-term, per the same NDSU guide. Grit and oyster shell are cheap free-choice extras once birds are on grass and laying. The feed store counter knows your local water and the regional feed brands, and the people behind it have answered the beginner question a thousand times. Use them.
Not everything on the store shelf belongs in March. Some purchases have a deadline, covered above; the rest have a trigger, an event that says buy now, and knowing the difference keeps a starter budget honest. The finished coop can wait until week four, the chicks live in the brooder six. Grit waits until day three at the earliest, and arguably not until birds eat something that isn't processed feed. Treats and scratch wait until the flock forages. An automatic door waits until dusk starts beating the commute home. A coop heater usually never gets its trigger at all, and the heater guide covers the exceptions. An incubator waits until you've kept a full year and still want one. If a store page can't tell you what event triggers the purchase, it's a want dressed as a prep step.
9. Predator-proof before, not after
Something got into the run, or a bird was pulled through wire that looked fine from the outside, and the wire is the first thing to check, not the latch. In most neighborhoods that visit is coming; read this before it arrives.
Chicken wire keeps chickens in. It does not keep raccoons out. Extension guides warn specifically that raccoons can reach through mesh and pull at birds standing near the wire the wire breakdown.
The fix is half-inch hardware cloth, 19 gauge, on every opening, seam, and ground edge, with quarter-inch mesh where small weasels are a concern. Budget the cloth into the startup math in step 3, not as an upgrade you'll get to later, because the first raccoon visit is not the night you want to learn the difference between the two wires. Doors and latches are the second half of the job: practice the latch one-handed with a flashlight in the other, because that's how you'll use it in January. An automatic door buys back the closing chore on school nights, and the winter ventilation guide covers the other half of a coop sealed tight: making sure it can still breathe.
One more predator lives at the house: the family dog. The dog everyone trusted is a recurring story in keeper forums, so the run fence doubles as the dog fence and supervised introductions stay supervised. Overhead, hawks are the predator people forget until the first alarm; a run roof or netting answers them. Then make security a habit instead of a project. Walk the perimeter once a month with one question: where would you push? Ground that heaved over winter, a sagging corner, the latch that got loose. The same walk doubles as the summer check: shade, airflow, and full water on the hot days. Five minutes a month is the whole program.
10. Order once, time it right
Timing works backwards from the eggs, not forwards from the catalog. Day-old chicks need about six weeks in the brooder, then outdoor life once temperatures hold near 65°F, and most layers start laying at 18 to 22 weeks by Arizona Extension's numbers, layer types a bit past that by NDSU's count. Pick the month you want eggs and reverse the calendar. A mid-April delivery means birds outside by late May and a first egg somewhere around Labor Day.
That math is why spring wins. UMN's guidance for small flocks is to start after March, when the weather does more of the heating and you do less, and the hatcheries' own order rules show the crowd: Murray McMurray's FAQ lists minimums of 25 chicks shipped from January through March, 15 in April, and 6 from May through September. Note what those months describe: ship dates, not order dates. Reserve early in the new year for a later spring ship date and you get both, your breeds before the popular sexed ones sell out, and a warmer, easier-minimum month when the box actually moves. There is a light-clock reason autumn layers do well, too: chicks hatched from April through August grow up while day length is shrinking, the shortening light holds sexual maturity back, and the body keeps growing instead, which is UMN's framing for why you want a pullet that finishes growing before she starts laying. Fall and winter starts aren't impossible, just a worse first lap: heat lamps into December, birds raised on the year's shortest days, first eggs in February. If what you want is eggs by spring, the route is started pullets in autumn, not chicks in January. My calendar for a first flock: order in late March, deliver mid-April, outside by Memorial Day, eggs by Labor Day.
Hatcheries ship live birds on a schedule built around weather and post offices. Meyer's standard and bantam chicks ship Mondays year-round, with minimums of three from April through November and eight from December through March, and the chicks are held at your post office for prompt pickup. Other poultry types run their own shipping days and minimums on the same chart, and state avian influenza restrictions can pause shipping entirely. Read the chart, and check your state animal health authority's outbreak notices, before you set your heart on a date.
One order beats three. At Meyer, from April through November, six sexed females of two or three standard breeds clear the three-chick minimum as a single order; at McMurray, an April ship still wants 15. Six is a Meyer-sized order, so know your hatchery before you plan it. Order the popular sexed breeds early, because they do run out: by October, the sexed Red females were already showing sold out for the season on Meyer's own product page.
Local feed stores run their own chick seasons, usually in spring, and the ones near you will tell you exactly when the truck lands if you call and ask. Day-old chicks from the feed store come from the same hatcheries, the minimums are yours to enforce instead of theirs, and picking your own six from the bin has its own value. Either way, work backward from the brooder: built and warmed the weekend before the ship date, not the weekend after.
One winter call deserves a family vote before winter arrives, not during it: whether to run a light for winter eggs or let the flock rest is a values call with real trade-offs on both sides, laid out in the winter light guide. A sensible first-winter plan is to skip the light, buy December eggs like a person with no chickens, and decide in January whether eggs were worth the timer and the cord. Already heading into the cold months with a flock that exists? The winter hub is the seasonal checklist for you.
Part Three: arrival to first egg. What the birds actually ask of you, week by week.
11. Arrival week: what normal looks like
For mailed chicks, call the post office the week before and ask how they handle live arrivals; most branches hold them and phone for pickup. Send one adult, promptly, because chicks that ride home through a school pickup line in a cold car arrive stressed. Have the brooder at temperature before the box opens.
Then a short runbook. Count the birds before anything else, and photograph any losses for the live-arrival guarantee while its reporting window is still open. Dip each chick's beak into warm water once before you let it loose, twenty seconds per bird and the most important move of the day; a chick that doesn't find water in the first hours doesn't look harder, it fades, and McMurray's sheet says most baby-bird loss traces to birds that never start eating or drinking. Cackle specifies the first water at about 98°F. If you use sugar or electrolytes in it, follow the current instructions from the hatchery that shipped your birds: the published recipes differ, and the same hatchery's own rescue recipe for a rough trip changes both the dose and the form, so theirs outranks any number printed here. Scatter starter feed on the paper for day one so the trough explains itself, and keep hands out of the bin for the first 24 hours while they recover. Check vents the next evening: pasting up, where droppings stick and block a chick, is a shipping-stress routine, fixed with a warm damp cloth and a few minutes per bird, and it clears on its own within days.
Watch behavior more than the thermometer number: huddling means cold, panting at the edges means hot, and chicks scattered around the bin eating, napping, and causing trouble mean you nailed it the behavior guide.
The first days run quieter than you expect, and that's normal. Day one is mostly sleeping under the heat, with short sprints to food and water between naps. By day two or three they find the feed and the trouble starts. By the end of the week the wing feathers come in and the personalities show up. The brooder guide carries the full week-by-week of what to watch.
Hands in the bin are the fun part, within the step 7 house rules: supervised kids five and up, nobody's face near the birds, and soap and running water afterward. Our first day, the kids watched from a stepladder at chick level and declared it torture. It was exactly right. The birds slept, ate, and settled, and the handling started the next evening, gently, with washed hands.
With a brand-new flock, the first two weeks are for teaching the humans. Latches, feeders, water refills, the egg routine, run through in daylight, by everyone who will ever be home alone with the birds. The kids who own a job soon own the routine, and the chores chart on the fridge is what turns week one into year three.
Then set the rhythm you'll actually keep, not the one you imagine on day one: ten minutes at the coop in the morning, ten in the evening, water topped, feed checked, one glance at everyone walking right. That rhythm catches most problems while they're still small, and it needs a backup. Line up the neighbor or relative who can run the ten-minute loop before the first vacation, not during it.
12. Weeks 7 to 20: the road to the first egg
Somewhere in week six the brooder era ends and the job changes. Weeks one through six are about keeping birds alive. Weeks seven through twenty are about building the body that will lay for years.
Feed steps down on schedule: chick starter to about week eight, then grower or developer at roughly 14% protein through week twenty, per NDSU's table and UMN's alike. Space steps up again, 1.5 to 2.5 square feet per bird indoors for growing pullets, UMN narrowing that to 1.5 to 2 for the lighter layer breeds. Feeder access grows with them, an inch of feeder space per chick to start, two inches from week two, three to four through the grower stage, all per UMN's progression. Roosts get real once birds pass six weeks: UMN's specs are rounded non-metal poles, 6 inches of roost per bird, poles 12 to 15 inches apart, arranged on a slant up to about 2 feet. Days outside stretch from warm-morning outings to most of the day, and if there's an adult flock, the groups live side by side behind wire for a couple of weeks before they share ground. The extension guides are unusually unanimous through this stretch, which after all their arguing about brooder temperatures felt like a gift to me: grower at eight weeks, layer at the first egg, nothing in between.
Around week 14 to 16 the flock starts looking like adult chickens. Don't be fooled. Arizona's extension guidance is blunt that pullets look full grown well before their reproductive system is finished, and most start laying at 18 to 22 weeks depending on breed. You can read the approach on the bird herself: UW-Madison's judging guide for ready-to-lay pullets describes comb and wattles enlarged, bright red and glossy, warm and soft to the touch, with the pelvic bones spreading wider apart. And the squat is the keeper-level signal that has earned its reputation everywhere chickens are discussed. A pullet who used to scatter suddenly flattens herself to the ground as you walk up. Eggs are typically days away.
Two jobs before the first egg. Nest boxes go in now, one per four to five hens by UMN's standard, bedded, in a dim corner, because a pullet with no box picks her own spot on the floor and floor laying is a habit, not an accident. And layer feed waits for the first egg or the clear point of lay, because laying rations carry calcium that non-laying birds should not eat, the same trap step 8 flagged; grower plus oyster shell on the side is the bridge. The first eggs are small, occasionally weird, sometimes yolkless or double-yolked, and the rhythm settles over a few weeks, so judge the flock in month two, not week one. Once laying starts, collect daily, because an egg left overnight in a warm box is how egg-eating habits start. And if your flock comes into lay as autumn arrives, that's the moment the winter-light decision from step 10 stops being theoretical.
13. The safety system: hygiene, quarantine, and the lookups
Everything in this step is boring, and all of it is load-bearing. The CDC's line for families with backyard poultry is short: children younger than 5 don't handle the birds at all, nobody kisses or snuggles them and then touches their face, hands get washed with soap and running water after any contact with birds, eggs, or equipment, eating and drinking happen away from where the birds live, and the shoes that work the coop stay outside the house. These rules cost nothing, and they are the difference between a fun flock and a salmonella story.
New birds, pullets or adults, quarantine at 30 days before any contact with the home flock, per Mississippi State's biosecurity sheet; Meyer's own care notes say two weeks, and the longer extension number is the one to build the plan around. Quarantine means separate space and separate feed and water gear, with dedicated boots or gloves for the quarantine side.
Two lookups belong in week one, not week one of a crisis: whether a vet near you sees poultry, and what your county expects for dead-bird disposal. Both are one phone call or one webpage today, and both are miserable to research mid-emergency.
Eggs from your own flock reach the kitchen with the same discipline store eggs get: collect daily, keep the nest boxes clean, refrigerate, cook through, and wash hands after collecting.
14. The mistakes that repeat
The same handful of mistakes recurs across keeper forums; most keepers make a few of them.
Too many birds too fast, because chicks in a bin stay cute longer than coops stay big; the floor math in step 4 is the brake. The ordinance skipped, then a rooster happens in a town that bans them, and the flock becomes a rehoming post; step 1 costs one email. The capacity sticker believed without a tape measure, which the re-rating shows ends one specific way. Chicken wire on a run that meets its first raccoon. One unheated waterer in a freezing January, discovered as a block of ice at seven in the morning on the coldest day of the month. No plan for the winter laying gap, which turns a normal seasonal slowdown into a crisis of faith about the whole project. Nest boxes arriving a week late, which is how a flock gets trained to lay on the floor. And the newest entry since backyard flocks got popular: a kid under five with a chick in one hand and no sink in sight.
None of these fixes cost much: a phone call, a tape measure, a roll of the right wire, one straight conversation about winter, and a bar of soap by the door. All of it is cheaper done before the catalog order than after it.
The one-page checklist
Everything above, compressed to one pass. Print it, tape it inside a cabinet door.
Before ordering: rules confirmed in writing; purpose picked; budget honest, coop-first; floor math done, interior divided by four; breeds chosen on purpose; starting age chosen; NPIP source with vaccine answers.
Order week: ship date confirmed and post office called; brooder sited with one dry-run heating; pine shavings and paper towels in the house, never cedar; chick guard ring in place; gallon waterer and 2-foot feeder per 25; starter feed on the shelf.
48 hours out: heat on around the clock; paper towels down over the shavings; feed and water staged; sugar and a tablespoon measure on the counter; arrival day cleared.
Arrival day: count the birds, photograph losses; beak-dip every chick in 98°F sugar water; feed scattered on the paper; hands off for 24 hours; watch the spread under the lamp.
Days 2 to 7: vent checks each evening; feed and water never empty; paper pulled by day five; heat easing toward 90; hands washed, every time.
Weeks 2 to 6: five degrees off the heat each week toward 70; space expanded at weeks two and four; coop finished by week five; moved on a mild night.
Weeks 7 to 20: grower ration from week eight, never layer before the first egg; indoor space up to 1.5-2.5 square feet per bird; real roosts at 6 inches per bird; range days stretching; partition first if adults exist.
Point of lay: nest boxes early, one per four to five hens; layer feed only at the first egg; small weird first eggs expected; daily collection; the winter-light decision made before October ends.
FAQ
Three questions the fourteen steps above don't answer, because they arrive later than the checklist does.
How much does laying drop in winter?
Depends almost entirely on light. Below about 14 hours of daylight, laying slows hard; an unlit northern flock can go nearly quiet through the deepest weeks, while a flock on a 12-to-14-hour timer keeps most of its production. Two exceptions matter more than the timer: don't force light on pullets that haven't finished growing, and let a molting flock finish its molt. The winter light guide walks the trade-off honestly, and the egg calculator has a winter setting that shows the dip for your own flock size.
What about complaints from the neighbors?
Most complaints are about roosters, smell, or flies, and all three are preventable. No rooster where the code says no. Dry bedding, managed before it gets damp, because ammonia is what neighbors smell. Feed in a sealed bin, so rats don't advertise you. Keep to the setbacks from step 1, and take a dozen eggs next door in June, before there's ever a reason to complain. June eggs buy a lot of goodwill for August.
What happens when the hens stop laying?
Laying declines from year two and turns sporadic by age three or four on Arizona Extension's numbers, while the hens themselves live on toward eight. So the question arrives for every keeper: pet retirement, rehoming, or the stew pot. None is the wrong answer. If the stew pot is in play, check your local slaughter rules first, because plenty of towns restrict it. And the wrong move is meeting the question for the first time in the flock's fourth winter. Talk it through with the family before you order, and you'll never have to decide it in a hurry.